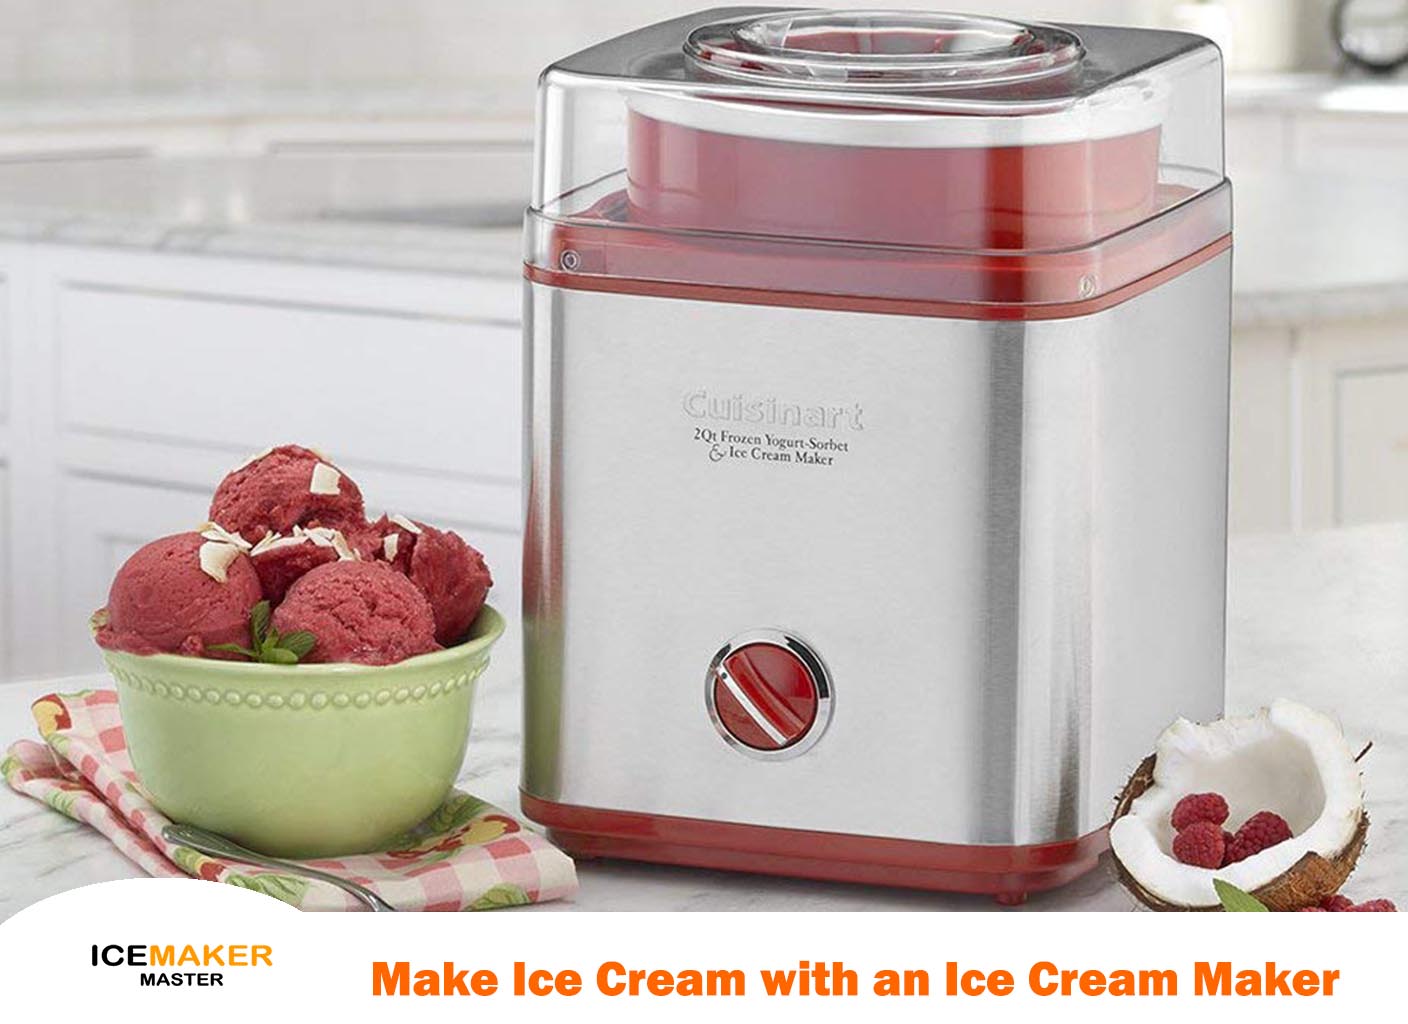
Homemade ice creams have their own charm that pulls us towards them by their creamy taste and amazing flavors. If you have an ice maker at home then you can make ice cream anytime you want and your house will become an ice cream hub for the children as well.
Most of the people who have the ice cream maker ask us that how to make ice cream with an ice cream maker. If you have the same question then read this blog carefully. In this blog, we will understand the step-by-step process of using an ice cream maker.
After this blog, you can make ice cream very easily and enjoy the tasty and flavorful ice cream and also have a party of ice cream whenever you want.
Things you need
Before you start the process first you have to gather some of the necessary equipment and ingredients. an ice cream maker consists of a freezing bowl, a mixing bowl, a churning mechanism, and a lid.
Also, before you start make sure that all the components are nicely clean and dried properly. This step is important because it will help in maintain the texture and flavor of the ice cream.
Ingredients
To create a wonderful homemade ice cream you have to start with the artful composition of its fundamental ingredients. The basic components that you need to start the process are milk, cream, sugar, and flavorings. These ingredients are like the starting point where you can get creative with your cooking.
Using fresh and top-notch ingredients is really important. It makes sure your ice cream not only tastes great but also has the best texture and richness. Basically, I am trying to invite you to try making lots of different things when you create your own ice cream at home.
Machine setup
Now, after you have selected the ingredients for your ice cream it’s time for assembling the ice cream maker. To assemble the ice cream maker you have to take the help of the manufacturer’s instructions to be sure that the machine is set up correctly. Putting the freezing bowl in the freezer is important before making ice cream. This step helps make sure the ice cream turns out just right, with the texture and consistency you want.
Following the suggested time for freezing ensures that the freezing bowl is nice and cold, making it work better when you are making ice cream. I am writing this like a helpful guide, telling you how important it is to set up the machine right. The main motive is to tell you that getting the machine ready properly is the key to having a fun and tasty time creating your own frozen treats.
Mixing Process
It instructs to combine selected ingredients in a mixing bowl, forming the foundation of the ice cream. The emphasis is on achieving a seamless and well-blended mixture, urging the reader to whisk thoroughly until every component is evenly integrated.
This meticulous blending is presented as the key to setting the stage for the delightful texture that will define the finished ice cream. By underscoring the importance of this step, this process also tell how the meticulous mixing process directly impacts the overall quality and mouth feel of the frozen treat, contributing to the creation of a velvety and satisfying homemade ice cream.
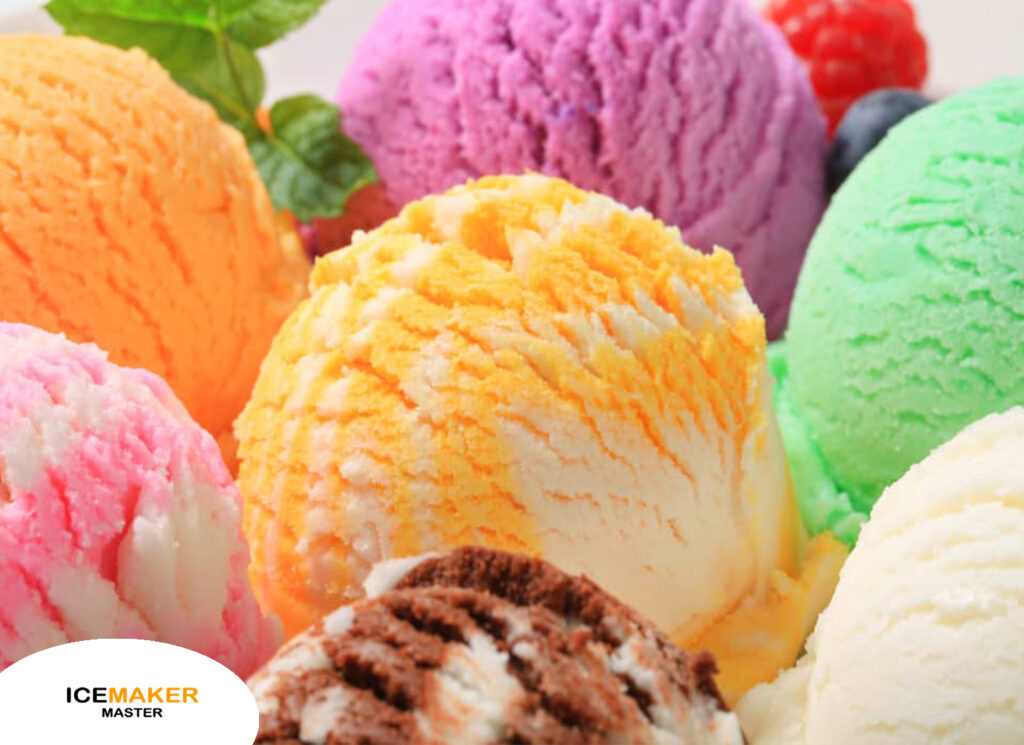
Flavoring Options
This is where your creativity comes into play. Experiment with different flavorings and extracts to personalize your ice cream. It encourages individuals to infuse their unique touch into the process, urging experimentation with various flavorings and extracts.
Whether one opts for the timeless simplicity of classic vanilla, the indulgence of decadent chocolate, or the freshness of a fruity sorbet. The encouragement not to hesitate to add a personal touch emphasizes the notion that making ice cream is a form of personal expression.
Churning Time
Pour your prepared mixture into the ice cream maker and begin the churning process. Once the prepared mixture is poured into the ice cream maker, the churning process begins. The churning mechanism is crucial as it introduces air into the mixture, a key factor in achieving the creamy consistency associated with delicious ice cream.
The duration of the churning process is highlighted, indicating that it typically spans from 20 to 30 minutes, with the specific timeframe contingent on the type of machine being used.
Temperature Control
Many ice cream makers come with temperature control settings to ensure the ideal consistency and it underscores their significance in achieving the desired consistency.
The importance of temperature control is to maintain the right temperature consistently during the churning process. I advise you to vigilantly monitor the mixture to ensure it thickens appropriately without freezing solid, ultimately aiming for that perfect creamy texture.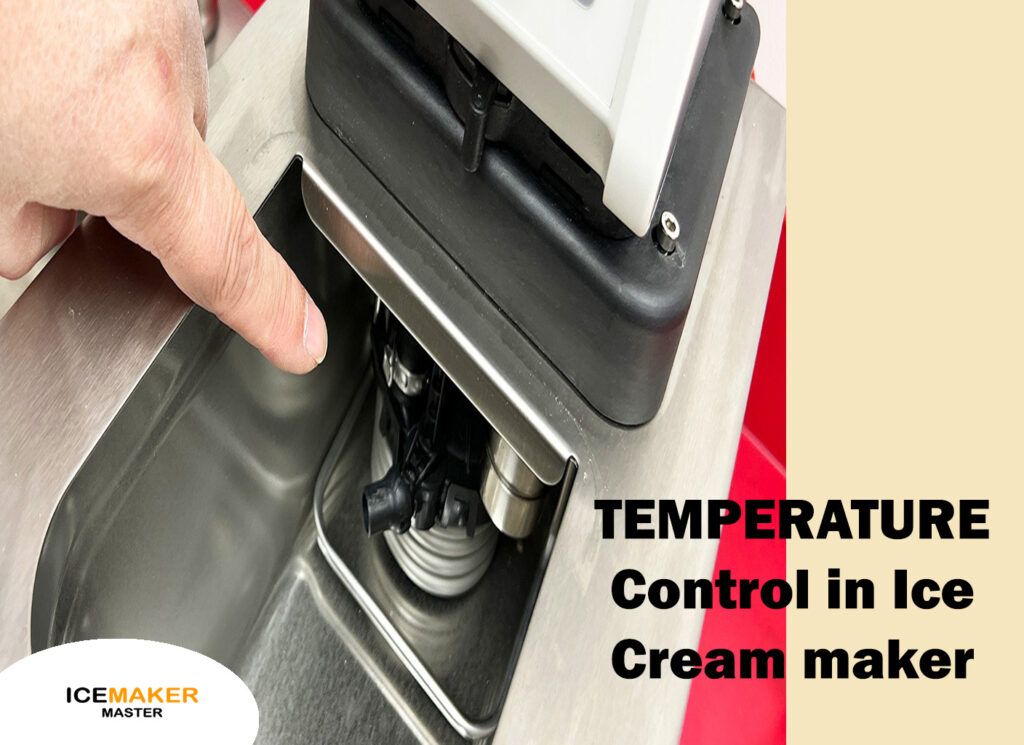
Adding Mix-Ins
About halfway through the churning process, consider adding mix-ins to elevate your ice cream experience. It is important to refrigerate the ice cream mixture before churning because the pre-cooling process aids in the efficient freezing of the mixture.
The machine can work more effectively, ultimately contributing to the production of a creamier and more luscious final product. This simple yet impactful step tells how a small, intentional step in the preparation process can significantly enhance the overall quality and texture of homemade ice cream.
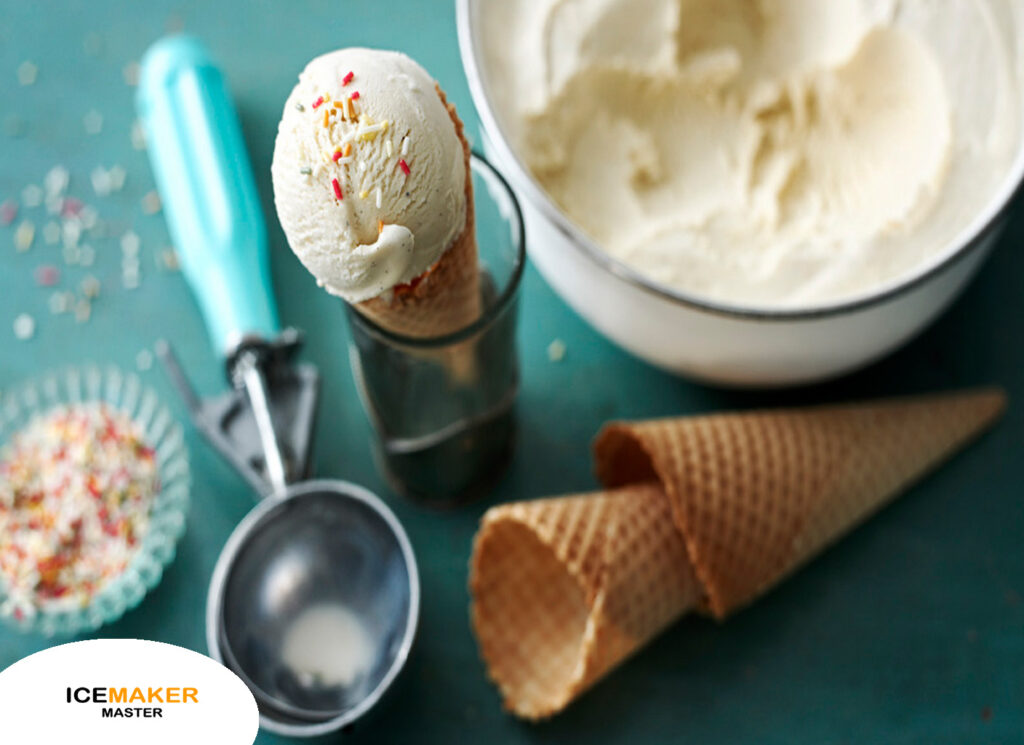
Storage
Once the churning process is complete, transfer your freshly churned ice cream into a lidded container. I will recommend you to transfer the ice cream into a lidded container because a container that seals tightly maintains freshness. This choice is not only to preserve freshness but also to prevent the formation of undesirable ice crystals.
Cleaning and Maintenance
Proper cleaning and maintenance ensure the longevity of your ice cream maker. It advocates a routine after each use, involving the disassembly of the machine and a thorough washing of its components with warm, soapy water.
It is important to dry the components of the ice cream maker before reassembly or storage. You can use the manufacturer’s guidelines for precise cleaning instructions, acknowledging the unique specifications of each ice cream maker model.
FAQ
How do I assemble my ice cream maker?
Follow the manufacturer’s instructions to correctly assemble the freezing bowl, mixing bowl, churning mechanism, and lid. But before assembling the ice cream maker make sure that all components are clean and dry.
Do I need to pre-freeze the bowl?
Yes, pre-freezing the bowl is crucial. Place it in the freezer for the recommended time to ensure it’s adequately frozen before starting the ice cream-making process.
Can I add mix-ins during churning?
Yes, about halfway through the churning process, consider adding mix-ins like chocolate chips or nuts. Avoid overloading the machine for efficient churning.
How do I clean and maintain my ice cream maker?
After each use, disassemble the machine and wash the components with warm, soapy water. Dry thoroughly before reassembly or storage. Follow the manufacturer’s guidelines for specific cleaning instructions.
What type of container is best for storing homemade ice cream?
Choose an airtight container to prevent ice crystals and maintain freshness. Allow the ice cream to firm up in the freezer for a few hours before serving.
Can I pre-cool the mixture before churning?
Yes, pre-cooling in the refrigerator before churning can result in a smoother texture by aiding the machine in freezing the mixture efficiently.
Conclusion
Using an ice cream maker at home allows you to explore the world of frozen desserts and unleash your culinary creativity. Whether you are a beginner or an enthusiast, this blog provides the fundamental steps to help you master the art of making homemade ice cream. So, don your apron, gather your ingredients, and embark on a sweet journey of crafting delicious frozen delights.