If you have purchased a Silonn ice maker and wanted to install it properly but you don’t know how to install the ice maker. Do not worry in this blog we will discuss the process of installation and setup of Silonn ice maker. After going through this guide you will know almost everything about the installation of the ice maker.
The Silonn Ice Maker has gained popularity among individuals looking for a convenient and effective method to ensure their beverages remain refreshingly chilled and make perfect ice for the beverages.
The Silonn Ice Maker is known for its compact, portable design and user-friendly operation, it also offers rapid ice production. Its stylish aesthetics and versatile features make it a fantastic complement for kitchens, bars, or even outdoor adventures like camping.
Things you require
Before embarking on the installation process, confirm that you have these essential items on hand.
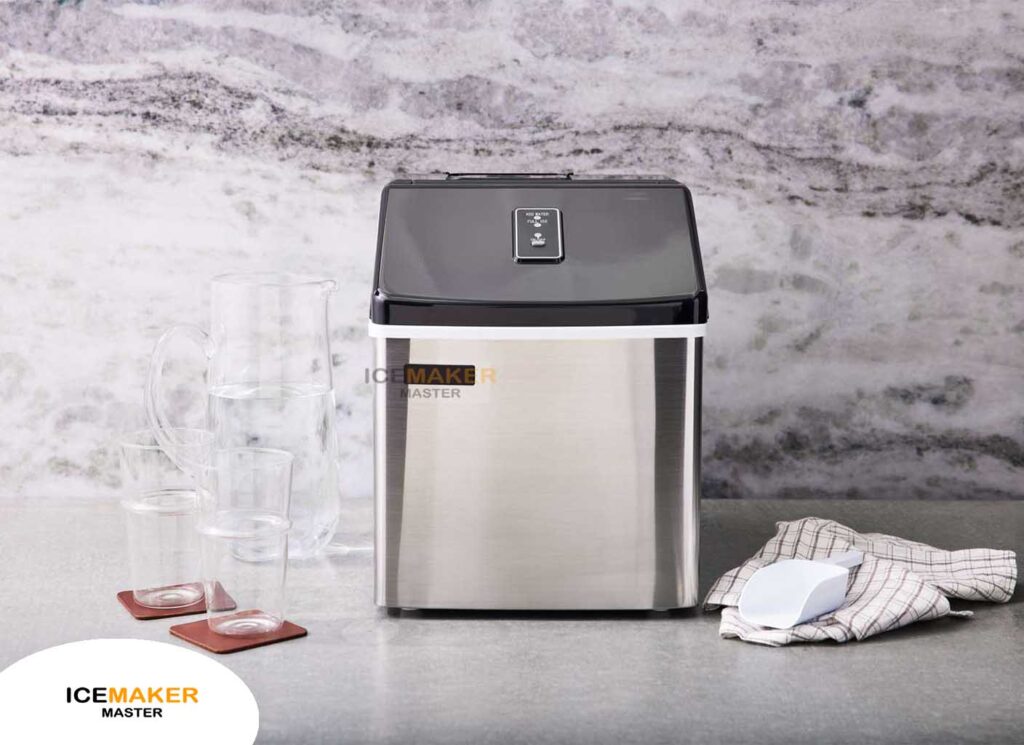
Silonn Ice Maker: Ensure you have the Silonn Ice Maker itself, which is the main component of your ice-maker setup.
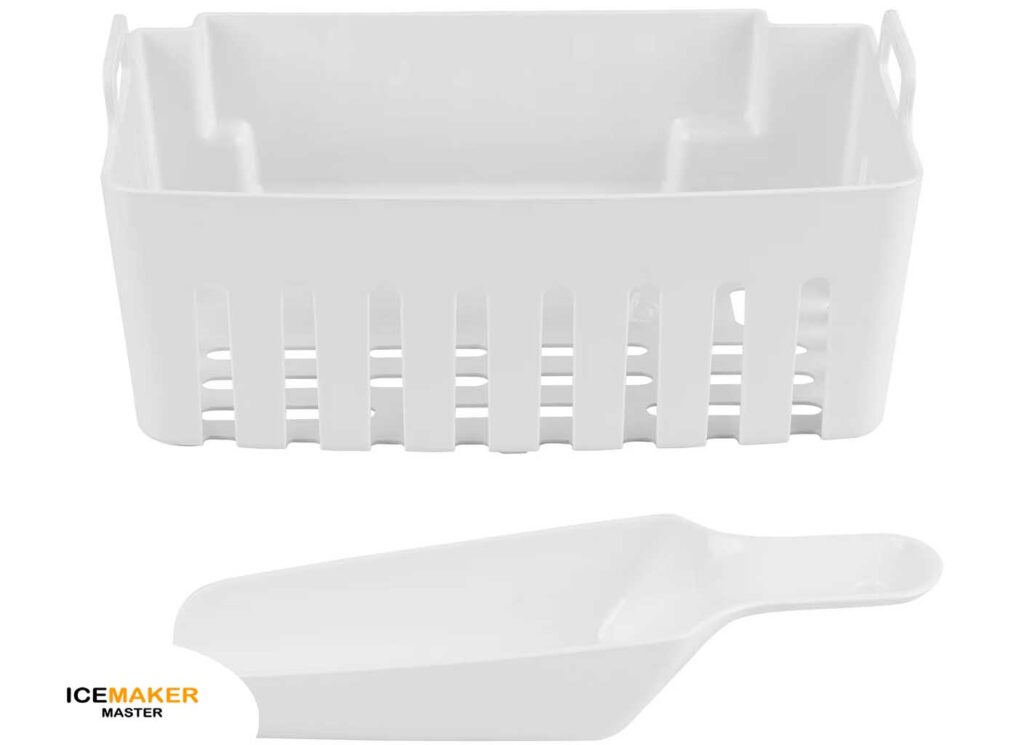
Ice Scoop: This handy tool is provided for conveniently collecting ice once the ice is produced. Keep it readily accessible.
User Manual: The user manual contains valuable instructions, troubleshooting guidance, and operational details specific to your Silonn Ice Maker model. Acquaint yourself with it to make the most of your appliance.
A Stable and Level Surface: Select a suitable location for your ice maker – a flat, stable surface is crucial to prevent wobbling or tilting during operation. This ensures that your ice maker functions correctly and safely.
Access to a Power Outlet: Your Silonn Ice Maker requires an electrical connection. Confirm you have access to a nearby power outlet that matches the voltage requirements mentioned in the user manual. Ensure the outlet is in good working condition and that you have an appropriate extension cord if needed.

Clean, Potable Water: The ice-making process relies on water, so having a source of clean, drinkable water nearby is vital. Check your local water quality if you have any concerns, and fill the water reservoir with clean water to the specified fill line.
Also Read - Silonn Ice Maker Not Working: Tips for Troubleshoot. Check if you want to troubleshoot your Silonn Ice maker at easy steps.
Now, we will discuss the installation process:
Unbox and Inspect the ice maker
Unpack with care when beginning the installation process of your Silonn Ice Maker. Delicately remove the packaging, taking your time to prevent any harm to the unit or its accessories.
As you unbox, conduct a precise visual inspection of the ice maker’s exterior, looking for any signs of damage like dents or scratches. Also, examine the power cord for fraying or any damage, ensuring it’s in perfect condition.
After that, verify the presence of all essential components, including the main ice maker unit, which should be free of visible defects, the undamaged ice scoop for collecting ice, and the invaluable user manual, crucial for understanding the specific features and operation of your Silonn Ice Maker.
While inspecting the contents, review the user manual to familiarize yourself with initial setup instructions and operational guidelines, which are essential as you proceed with the installation. If you detect any damage or missing components, promptly contact the manufacturer or retailer to address the issue.

Choose a Location
When deciding on a location for your Silonn Ice Maker, it’s crucial to prioritize stability and a level surface. The surface you select should be flat and free from irregularities to prevent wobbling or tilting during operation, ensuring both efficient functionality and accident prevention.
Additionally, consider proximity to a power outlet for a seamless power supply without relying on lengthy or hazardous extension cords.
Consider the environmental factors by avoiding direct sunlight and heat sources like stoves or ovens, as these can hinder the ice maker’s cooling capabilities. Proper ventilation around the appliance is essential to dissipate heat, preventing overheating and enhancing longevity.
Lastly, factor in aesthetics and convenience, as the Silonn Ice Maker’s sleek design complements your kitchen or bar area, and its portability allows flexibility for various settings, from entertaining guests to camping trips.
By carefully considering these elements, you’ll secure an ideal location that optimizes performance, functionality, and the overall aesthetics of your living space.
Clean the Ice Basket and Water Reservoir
In your Silonn Ice Maker’s initial setup, it’s crucial to ensure the cleanliness of the ice basket and water reservoir, as they are integral to the ice-making process.
To begin, extract both components from the ice maker and gently clean them with warm, soapy water using a soft cloth or sponge.
This step is vital to eliminate manufacturing residues, dust, or potential contaminants that may have accumulated during storage or transportation. Following the cleaning, thoroughly rinse both the ice basket and water reservoir to remove any soap residues, as even the smallest traces can affect ice quality.
Complete the process by ensuring that both components are entirely dry to prevent ice sticking or malfunctions, using a clean, dry cloth for this purpose. Once cleaned and dried, reassemble the components securely in your Silonn Ice Maker, ensuring their proper placement.
Check general steps to clean an ice basket in ice maker.
Connect the Power Cord
Now that your Silonn Ice Maker is in its designated location, the next step is connecting the power cord, which serves as the lifeline for the appliance’s operation.
Begin by locating a grounded power outlet nearby and ensuring its good working condition, as grounding minimizes electrical risks and safeguards your appliance. Verify that the power plug has a grounding pin, indicating the necessity of a grounded outlet.
Before plugging in the ice maker, check the voltage requirements to match the user manual’s specifications, as any deviation could lead to malfunction or damage. If an extension cord is required, ensure it’s in good condition, rated for the appliance’s power needs, and designed for the load.
Make a secure connection by inserting the power plug into the grounded outlet to prevent irregular power supply or safety hazards. Follow the user manual’s instructions to power up the ice maker, ensuring a reliable start to the ice-making process.
Add Water
In preparing your Silonn Ice Maker for operation, a crucial step is to ensure the water reservoir is properly filled, as it serves as the source of water for ice production.
Begin by locating and opening the lid of the water reservoir, typically situated at the top of the ice maker.
The water should be clean and potable to guarantee the quality and taste of the ice it produces, avoiding impurities that can affect clarity and flavor.
Take note of the clearly marked “maximum fill line” inside the reservoir, which must be adhered to in order to prevent overflow or overfilling, ensuring optimal results and preventing water spillage. Carefully pour water up to this designated limit, exercising caution.
After filling the reservoir, securely close the lid to prevent water contamination and ensure the ice maker functions as intended.
It’s essential to monitor water quality regularly, as any decline in ice quality or mineral deposits may necessitate periodic cleaning of the water reservoir as per the user manual’s instructions.
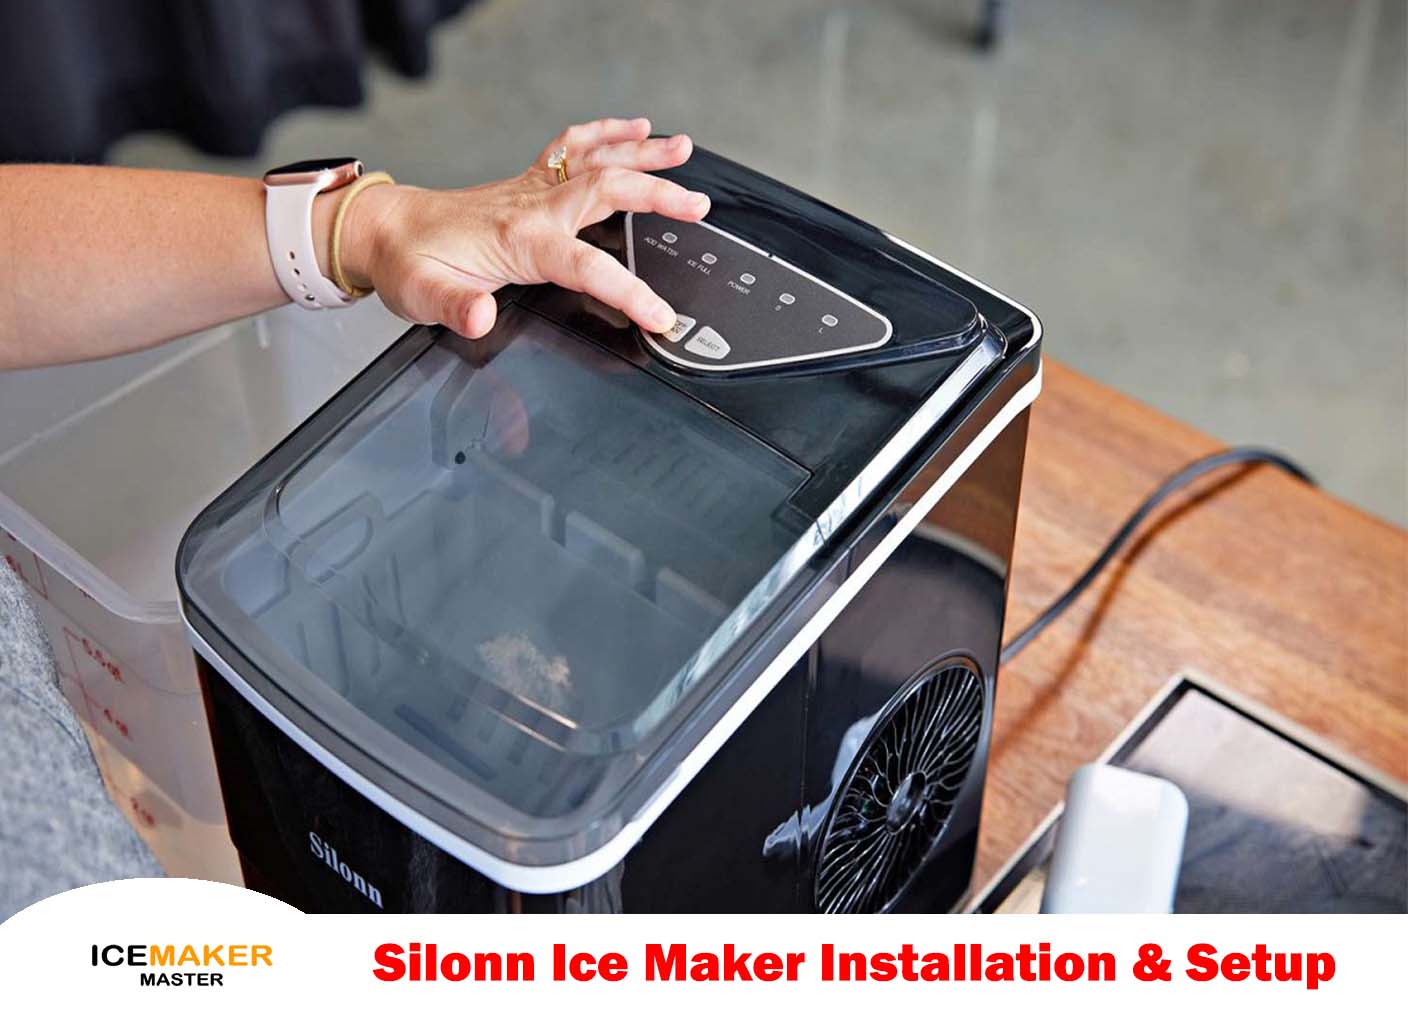
Power Up Your Ice Maker
With the water reservoir filled and all preparations complete, it’s time to power up your Silonn Ice Maker. Locate the power button on the control panel, typically found on the appliance, and switch it on to initiate the ice-making process.
The machine will enter its initial operation phase, activating various components and systems while potentially conducting self-diagnostic checks.
Within few minutes, you will observe the first signs of ice production as the ice maker rapidly freezes water from the reservoir into cubes.
During this process, regularly check for any unusual sounds, indicators, or error messages, following the user manual’s guidance.
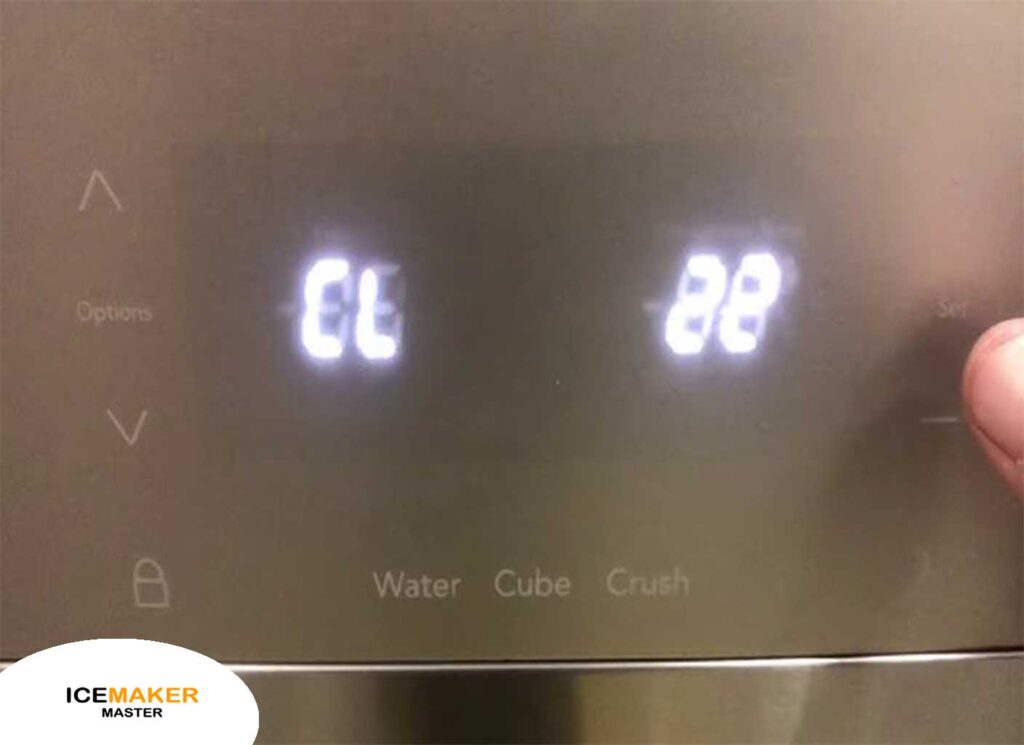
Depending on your model, you may have the option to select your preferred ice cube size. These steps will have your Silonn Ice Maker up and running, providing quick and high-quality ice for your beverages.
Awaiting the Ice Production Cycle
After activating your Silonn Ice Maker, it enters the ice production cycle where various components and systems collaborate to transform water from the reservoir into ice cubes, a pivotal process at the core of this appliance’s functionality.
The time required for a complete ice production cycle varies depending on factors like your specific model and room temperature.
Typically, you can expect a cycle to last around 6 to 15 minutes. As you await the cycle’s completion, observe the intriguing process of water freezing into ice cubes, emphasizing the efficiency of your Silonn Ice Maker.
Room temperature should also be considered, as it can influence the process, with cooler environments facilitating faster ice production.
Throughout the cycles, regularly check for warning lights, unusual sounds, or indicators that may require maintenance or troubleshooting, as detailed in the user manual.
Understanding these dynamics equips you to appreciate your Silonn Ice Maker’s performance and its ability to supply ice efficiently.
After following these steps your Silonn ice maker’s installation and setup is completed.
Frequently Asked Questions
Do I need any special tools for installing the Silonn Ice Maker?
No, you do not need any special tools for the installation of Silonn ice maker. The setup process typically involves basic tasks such as filling the water reservoir, plugging it into a power outlet, and turning it on.
How long does it take for the Silonn Ice Maker to start producing ice after setup?
The time taken by the Silonn Ice Maker to start producing ice varies according to the model and outer environment, but it’s typically within 6 to 15 minutes from the moment you turn it on.
Can I select the size of the ice cubes with the Silonn Ice Maker?
Many Silonn Ice Maker models offer the option to select the size of the ice cubes, including small, medium, and large. Refer to the user manual for instructions on how to choose your preferred ice cube size.
Is it safe to leave the Silonn Ice Maker on all the time?
Yes, it’s generally safe to leave the Silonn Ice Maker on as long as you follow the manufacturer’s recommendations and safety guidelines outlined in the user manual. However, if you plan to be away for an extended period, consider turning it off to conserve energy.
Do I need to periodically clean the Silonn Ice Maker?
Yes, regular maintenance is essential to keep your ice maker running efficiently. The user manual provides guidelines on how to clean and maintain your specific model.
Conclusion
The Silonn Ice Maker seamlessly enhances your kitchen. Its compact, user-friendly design is an effortless way to maintain chilled drinks and keep your guests satisfied. Following the straightforward installation steps in this guide ensures an uninterrupted ice supply at home. Don’t forget to consult your model-specific user manual for precise instructions, granting you the luxury of never worrying about ice shortages again.